Start collecting and get crafty with these gorgeous ideas...
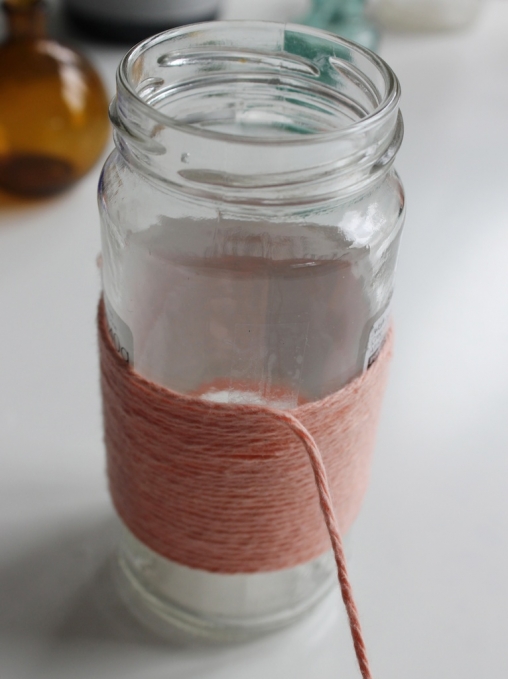
WOOL-COVERED BOTTLES AND JARS
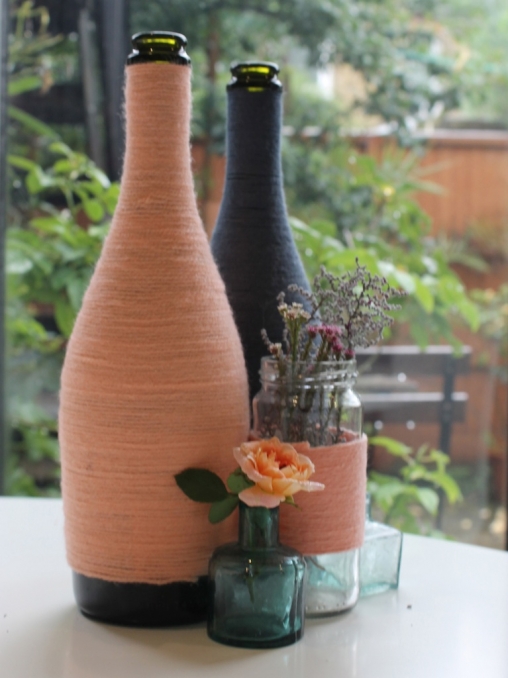
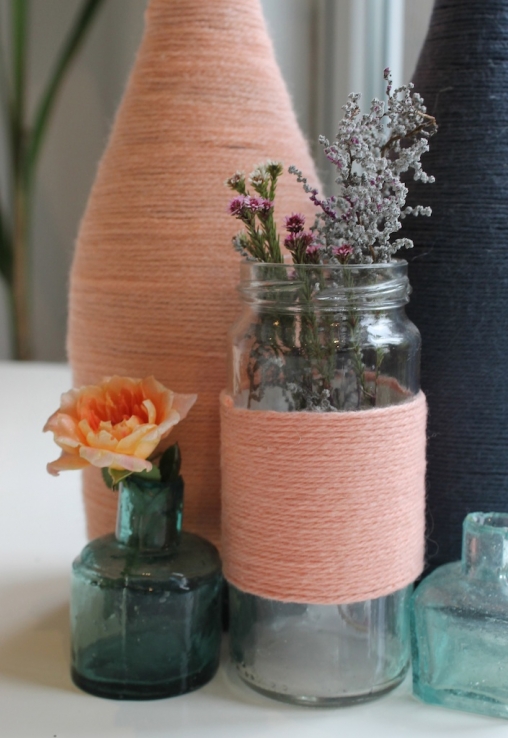
Covering jars and bottles with wool is an excellent way of decorating your wedding tables - and really cheap too! Preparation is key as they can be quite time-consuming, especially if you're going to have lots of tables. For an eclectic look, I mixed my wool-covered bottles and jars with small coloured glass jars found at a car boot sale.
Follow these step-by-step instructions to make your very own wool-covered bottles and jars.
You will need:
A glass jar or bottle
Some strong double-sided sticky tape (UHU or Copydex glue also works well)
Coloured wool (brown garden twine works just as well if you're going for a more rustic look)

Step 1
Cut three or four strips of double-sided tape and stick each one vertically around the label of the jar, leaving a four or five cm gap between each one.
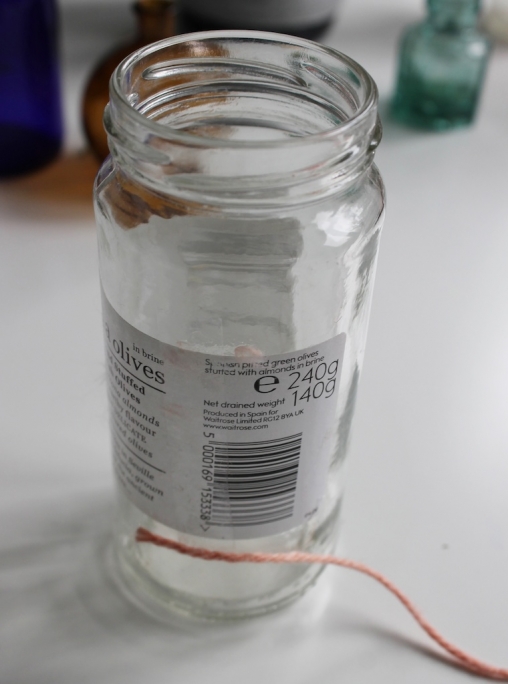
Step 2
Place your piece of wool on one of the sticky taped areas just below the label and press down to bond.
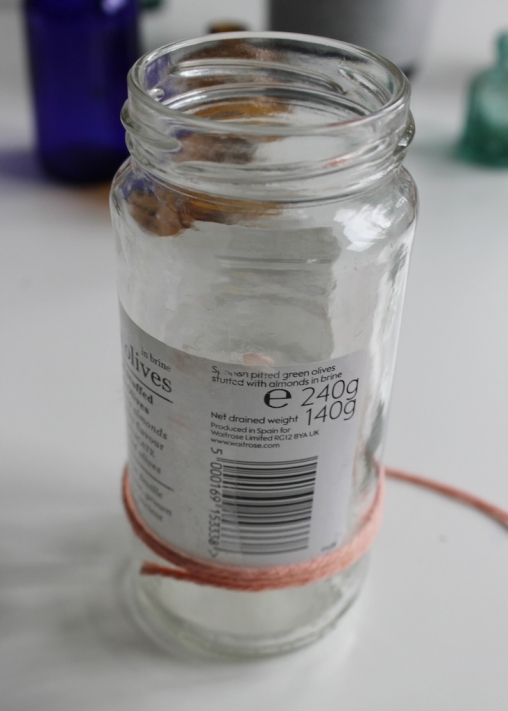
Step 3
Start winding your wool around the jar, pressing against the tape as you go. You may also need to push the wool together as you go so there are no gaps between the strands and to make sure you can't see the label underneath.

Step 4
Keep winding the strands around the jar until the label has completely disappeared. Then trim the ends of the wool to neaten and your jar is complete!
When covering bottles you will need more strips of double-sided tape to wind around and you will need to keep pushing the strands together, especially when winding around the curved sections of the bottle.
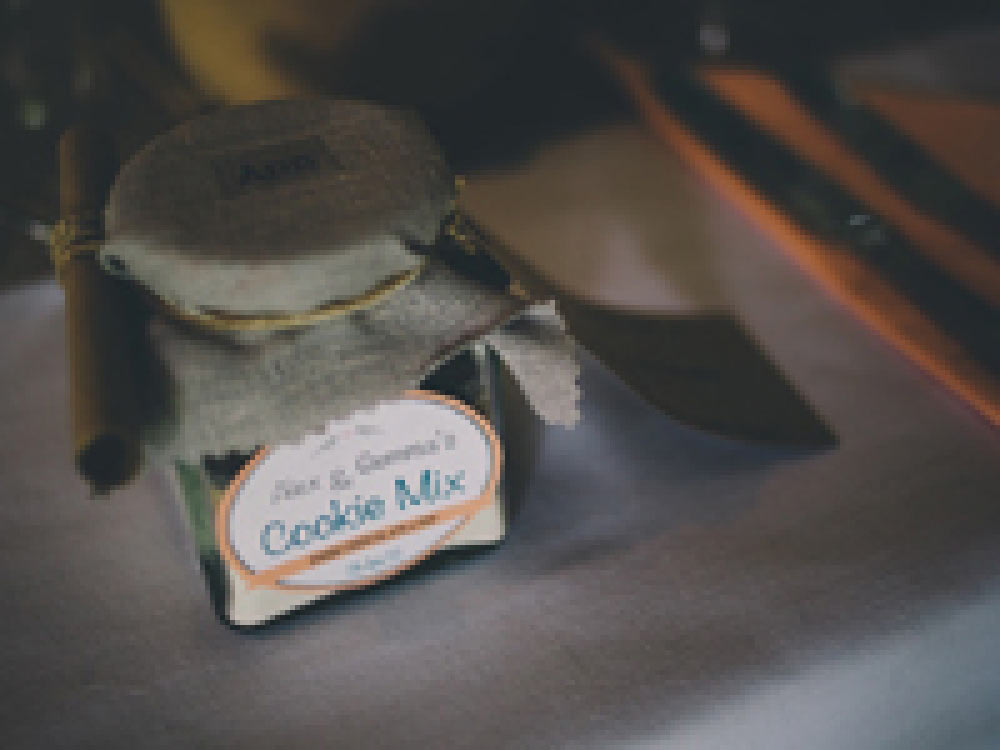
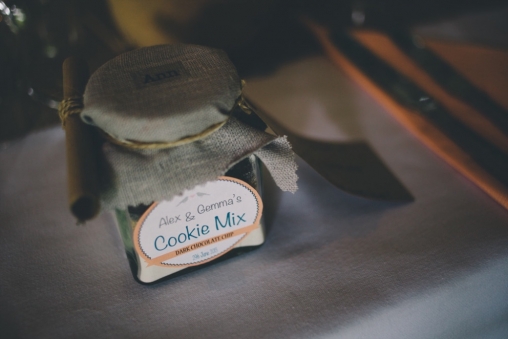
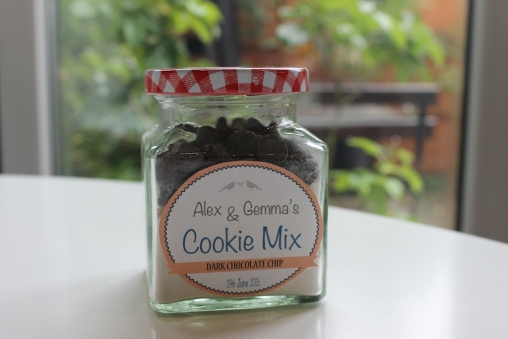
COOKIE MIX WEDDING FAVOURS
Jars of layered cookie mix are a tasty way of creating unique favours that you can make in advance of the big day. What's more, it's a novel treat for your guests to bake their own cookies when they fancy eating them.
Keen to avoid the traditional sugared almond favours, my husband and I decided to dedicate one rainy Sunday afternoon to making cookie mix wedding favours for each of our guests. They went down extremely well on the day. I think the fact that they were personalised and homemade meant that there wasn't a cookie jar in sight the next day!
To make your layered cookie mix, you will need: (for each jar)
A standard size jam jar
65g flour
1/2 teaspoon baking powder
2 tablespoons white sugar
2 tablespoons brown sugar
65g chocolate chips (or flavour of your choice)
Step 1
Mix your flour, baking powder and white sugar together and place at the bottom of your jar.
Step 2
Add a separate layer of brown sugar, followed by a final layer of chocolate chips at the top and secure tightly.
Step 3
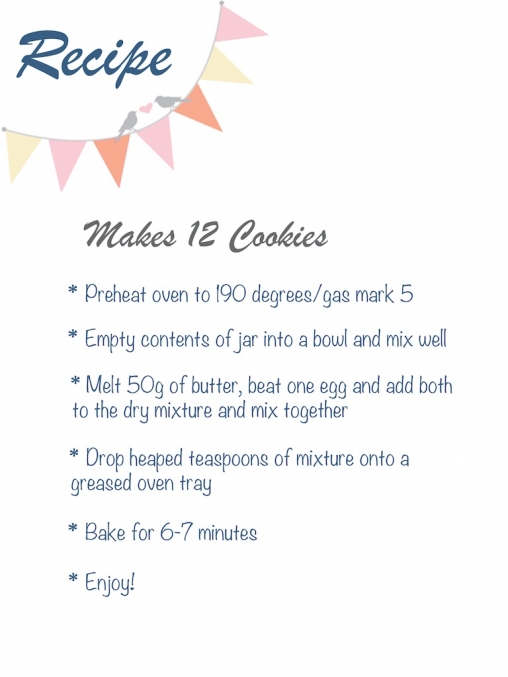
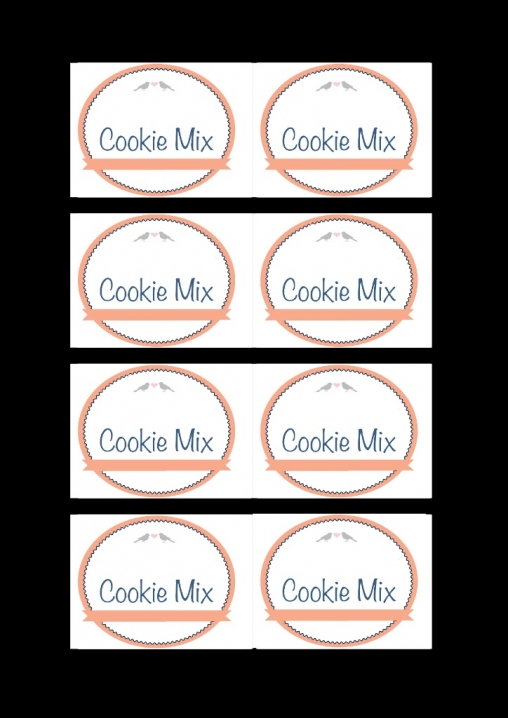
Print off your recipe instructions, roll up and wind around the side of the jar with some string.
Search 'cookie mix favours' on www.wedmagazine.co.uk for the recipe instructions and label templates.
words Gemma Beresford
Copyright Wed magazine 2014